
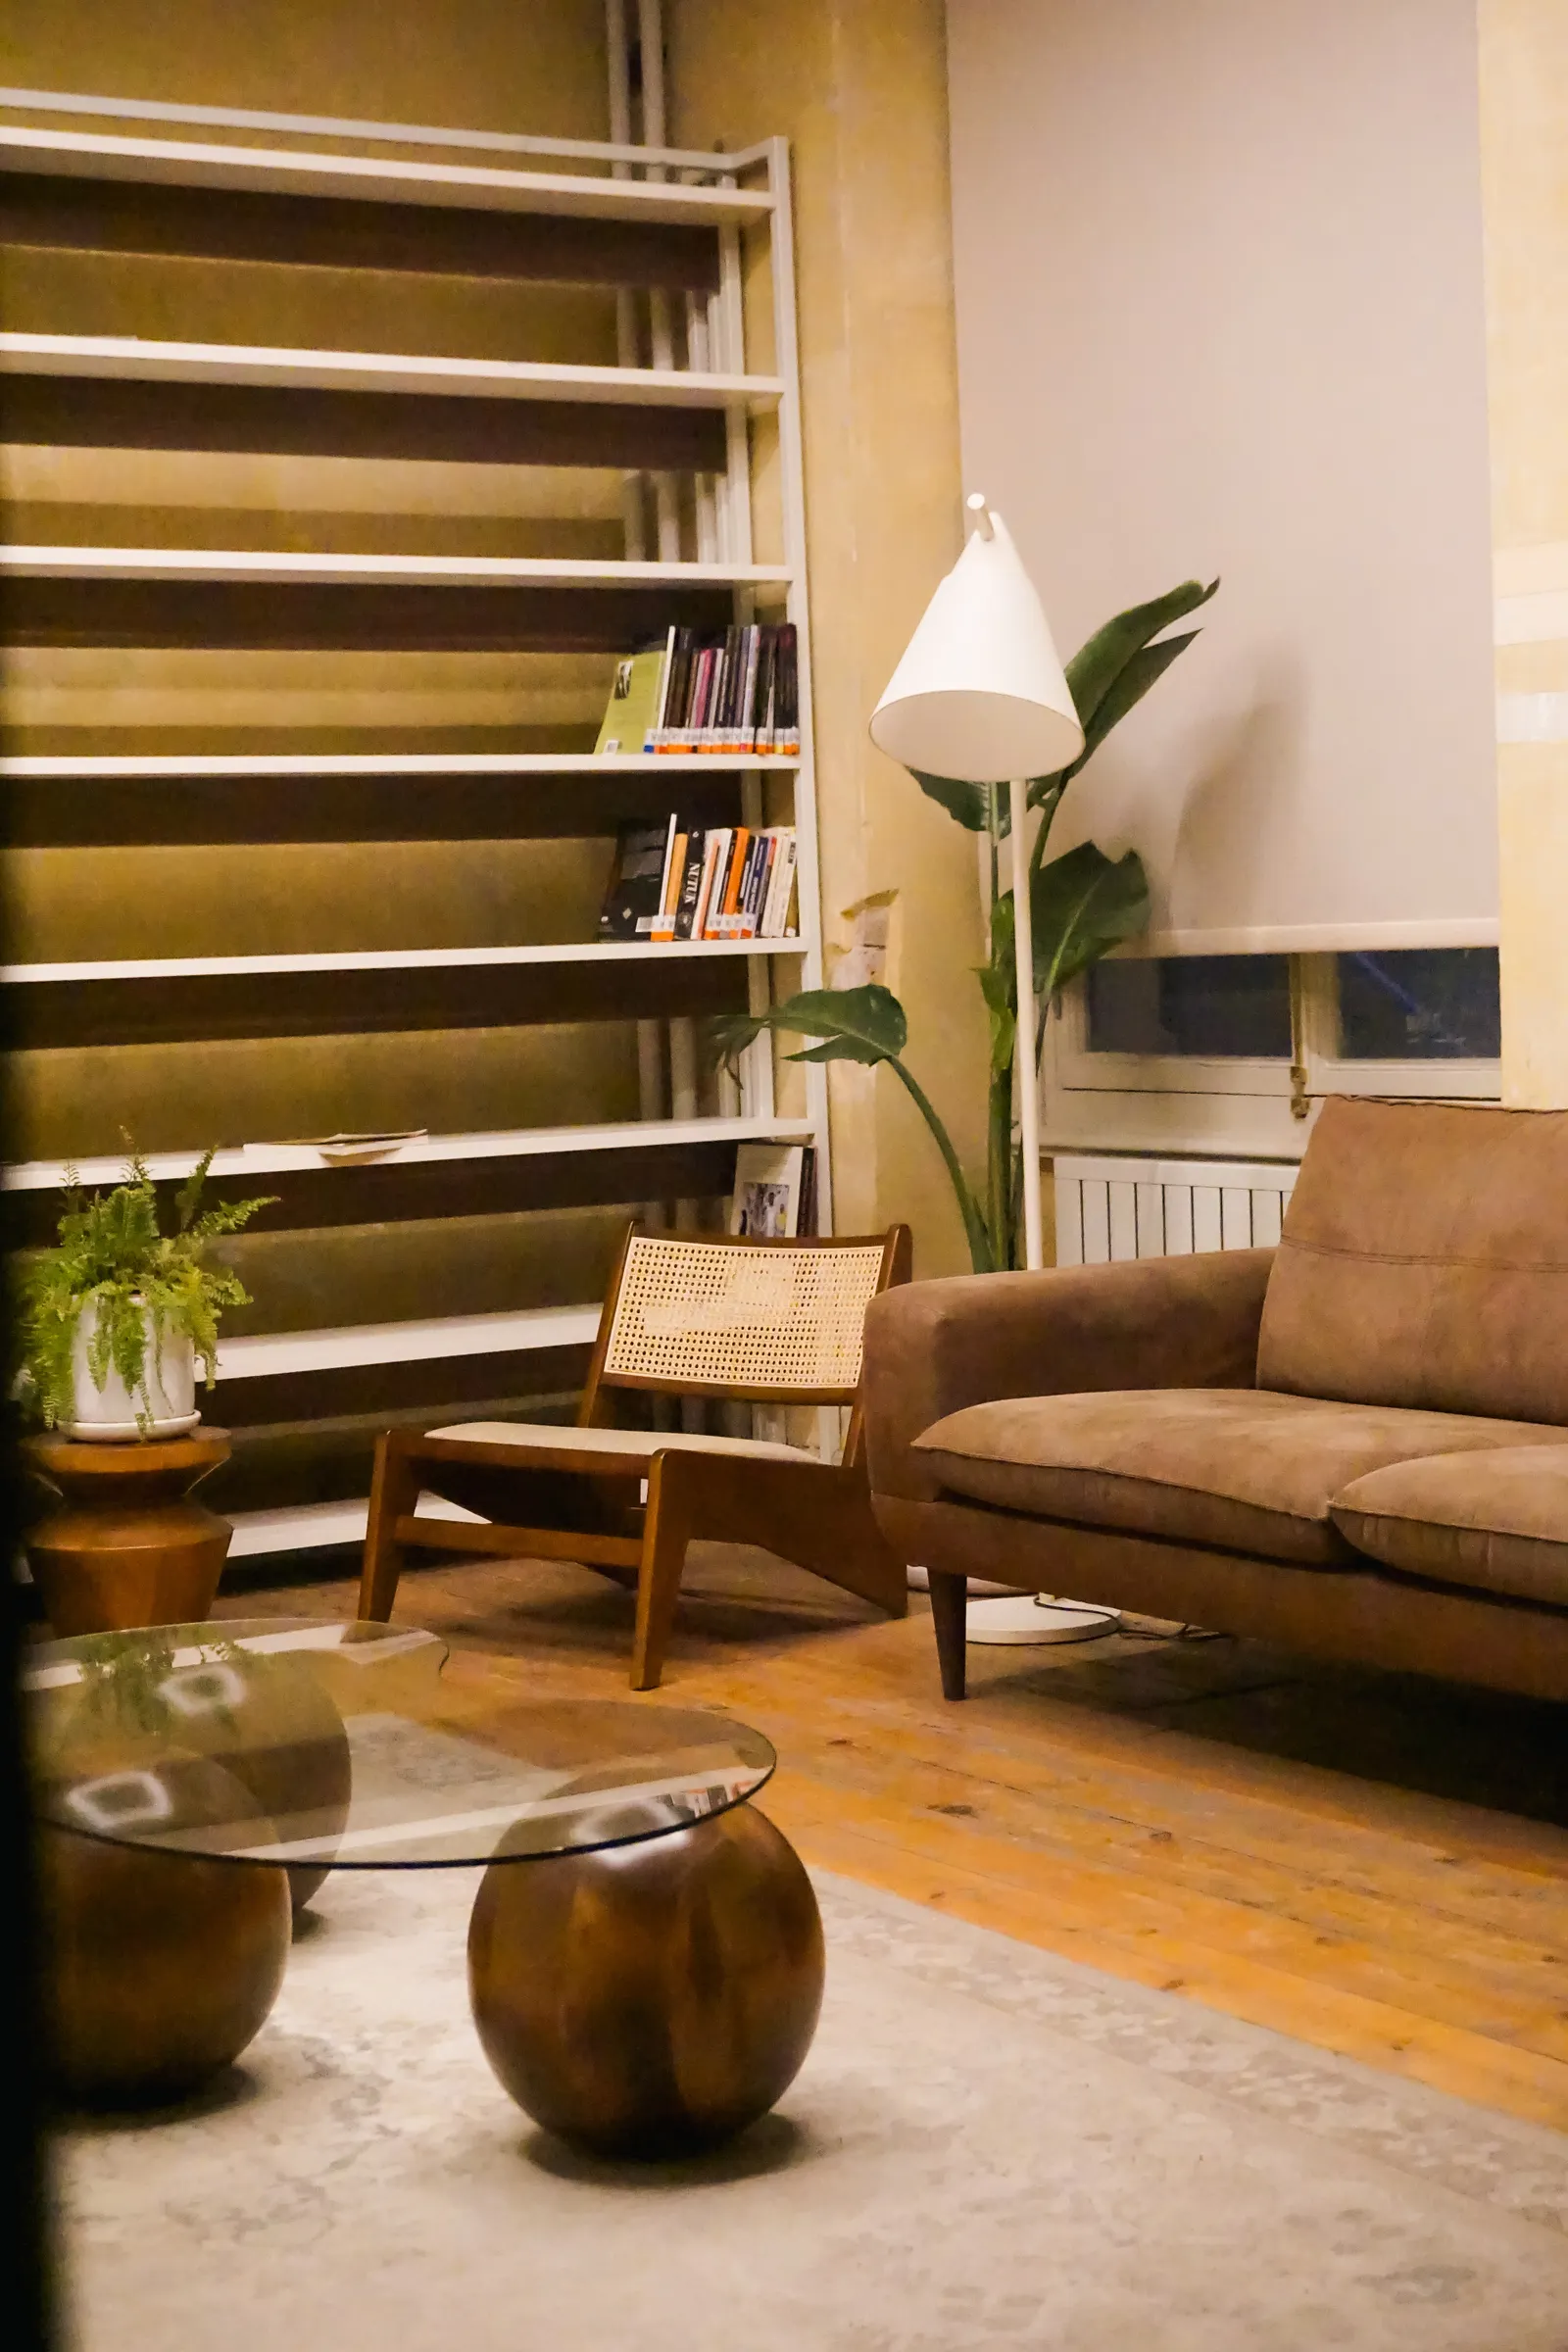
A lighting scene that looks calm in a rendering may feel very different when the real lamps flicker near their lowest setting. Dimming is a useful interior decision, but the switch, lamp and any separate driver must work together. For a majlis or bedroom in Al Ahsa, select the intended experience first and then have the electrical team confirm the compatible equipment. This guide is a purchasing and coordination checklist, not a wiring tutorial or a recommendation to import a particular foreign-market dimmer.
Define what you want the room to do
Write down the activities that need different light levels: conversation, reading, watching television and cleaning are distinct situations. Identify which group of lights should change for each activity. You might want the decorative wall lights low while a reading light stays useful. Asking for every fitting to dim together can hide that distinction. A short scene schedule helps the designer establish separate groups and sensible control locations before the room is wired or the ceiling details are finalized.
Check the complete combination
Lutron's troubleshooting guidance explains that some LEDs are not dimmable, and that low-level flicker or dropout can arise when a lamp is being dimmed below its usable range. Its page also identifies a particular US product as 120 V, so it is not a purchasing specification for a Saudi installation. Ask your local supplier for written compatibility covering the exact light source, driver where used, and control. A label saying LED on all three items does not itself confirm their compatibility.
Build a small equipment schedule
Give each lighting group a reference, then list the fixture model, quantity, driver model and proposed control beside it. Include any manufacturer limits that the electrician must check. Make clear who will resolve a mismatch before ordering. For decorative fittings supplied by a different shop, request the same information rather than adding them after the control system has been selected. Keep the schedule with the drawings so a visually similar substitute cannot enter the project without a technical review.
Test a representative sample early
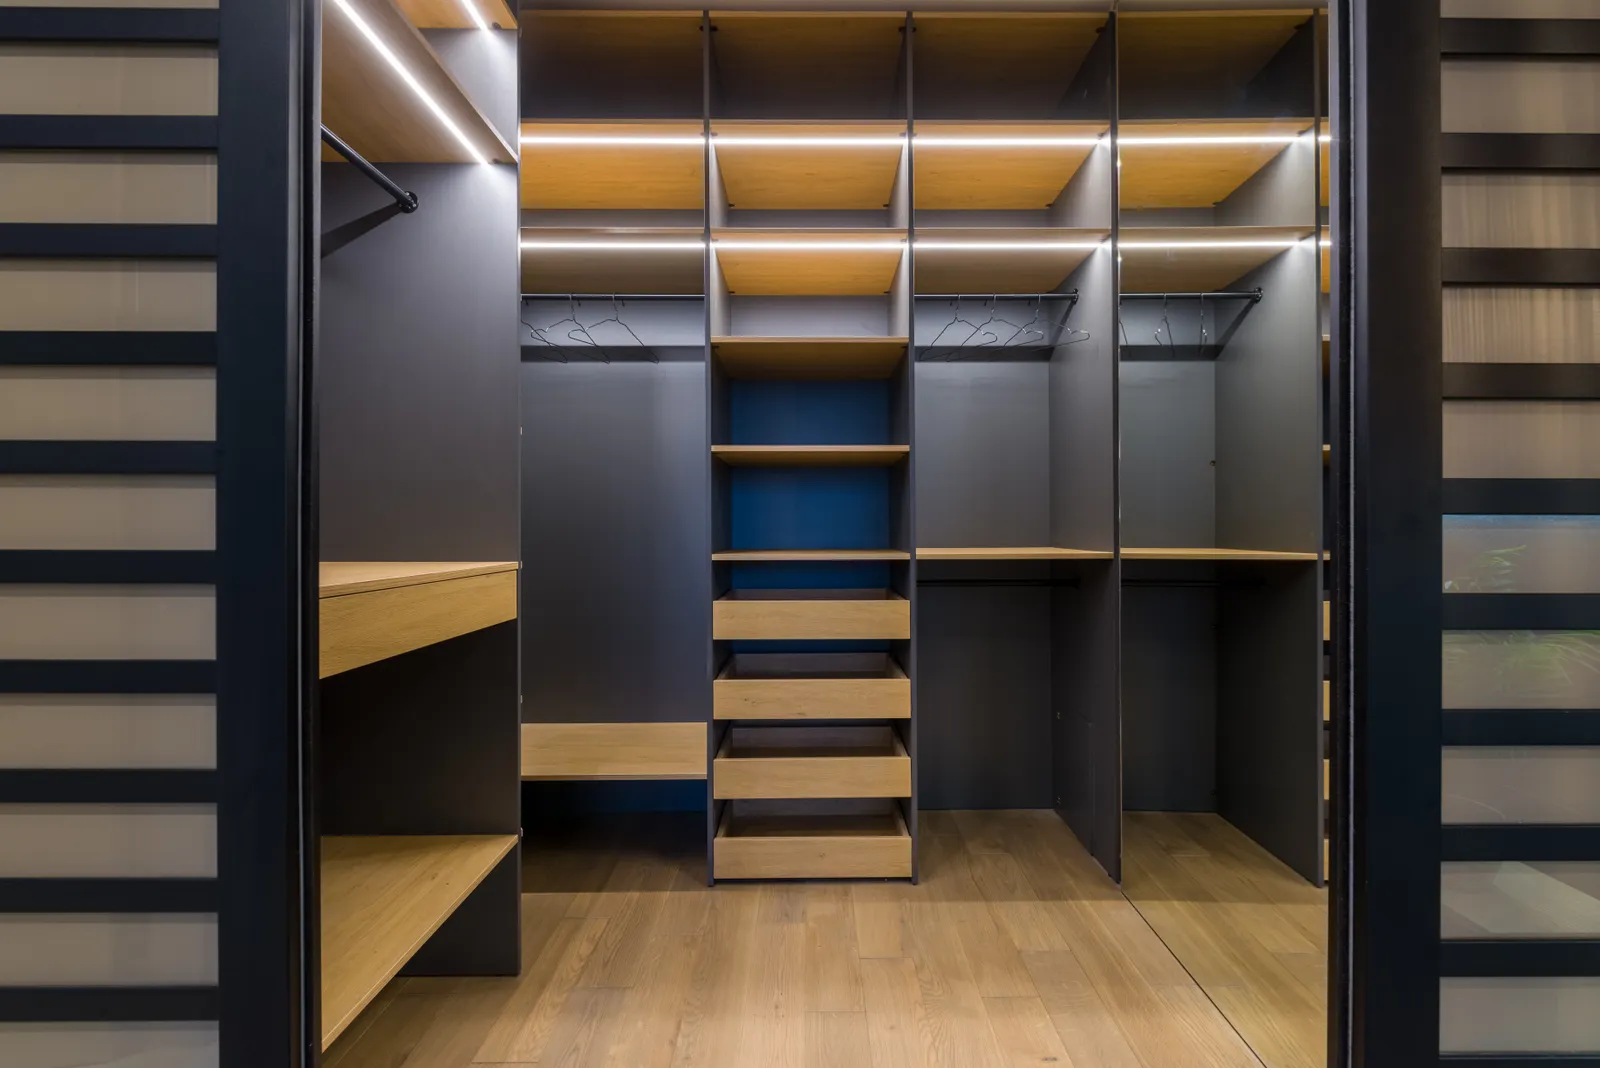
Ask the supplier or qualified installer to demonstrate the proposed combination before committing to the full quantity. Look at startup, the lowest stable level, smoothness of adjustment and any audible noise. Test the scene from the normal seating position, preferably with the room's intended finishes represented nearby. Record the actual models used in the demonstration. A successful test with a different bulb or driver does not establish that the final order will behave in the same way.
Agree on an acceptable low setting
The lowest slider position is not necessarily the most useful setting for a room. Decide how much light you want for an evening gathering and how the room should behave when lights are switched back on. Ask the installer whether the selected equipment offers an approved minimum-level adjustment and have them commission it according to its instructions. Do not treat a control adjustment as a cure for damaged equipment or an unexplained electrical fault. Persistent instability needs investigation by a qualified electrician.
Plan operation and replacement together
Consider who will use the controls, including guests who have never seen the room before. Keep essential functions understandable without a complicated sequence. If smart control is proposed, clarify the local switch behaviour and what happens when its network service is unavailable. Also ask how a failed driver or lamp will be replaced. An attractive ceiling detail should allow access to serviceable components, and the handover record should preserve the actual compatible model references rather than only a lighting supplier's telephone number.
Compare offers on demonstrated behaviour
Compare quotations using the same equipment schedule and scene requirements. Include demonstration, installation, commissioning and handover responsibilities, not just the price of the wall control. At completion, repeat the agreed scenes and record any remaining flicker, noise or inconsistent startup for correction. Bring that schedule to your Bunyady design discussion so lighting positions, ceiling access and the intended atmosphere can be coordinated. The result should feel natural in daily use and remain understandable when maintenance is needed later.
Your practical checklist
- Describe the scenes and separate lighting groups.
- List exact fixture, driver and control references.
- Obtain local compatibility confirmation.
- Demonstrate the proposed combination before bulk purchase.
- Record the agreed stable minimum setting.
- Keep commissioning and replacement details at handover.
Frequently asked questions
Does every LED lamp work with a dimmer?
No. Check that the exact light source is dimmable and compatible with the proposed control and driver where applicable.
Does flicker always mean the lamp is faulty?
No. Compatibility and usable dimming range can matter, but other faults are possible. Have persistent problems assessed by a qualified electrician instead of guessing from the symptom.
Can I select the dimmer after the ceiling is finished?
It is better to coordinate it earlier. Control type, grouping and access to drivers may affect the electrical and ceiling design.
Sources and further reading
Sources support the specific facts identified below. Planning examples and checklists are editorial guidance; photographs are illustrative.
- Lutron — Manufacturer explanation of dimmability and low-range flicker/dropout. The referenced 120 V control is not specified for this Saudi project.